My latest project …unboxing video here : https://youtu.be/n8TmSSDXF_8
Everything gets a base coat of chaos black before removing from sprues and glueing.
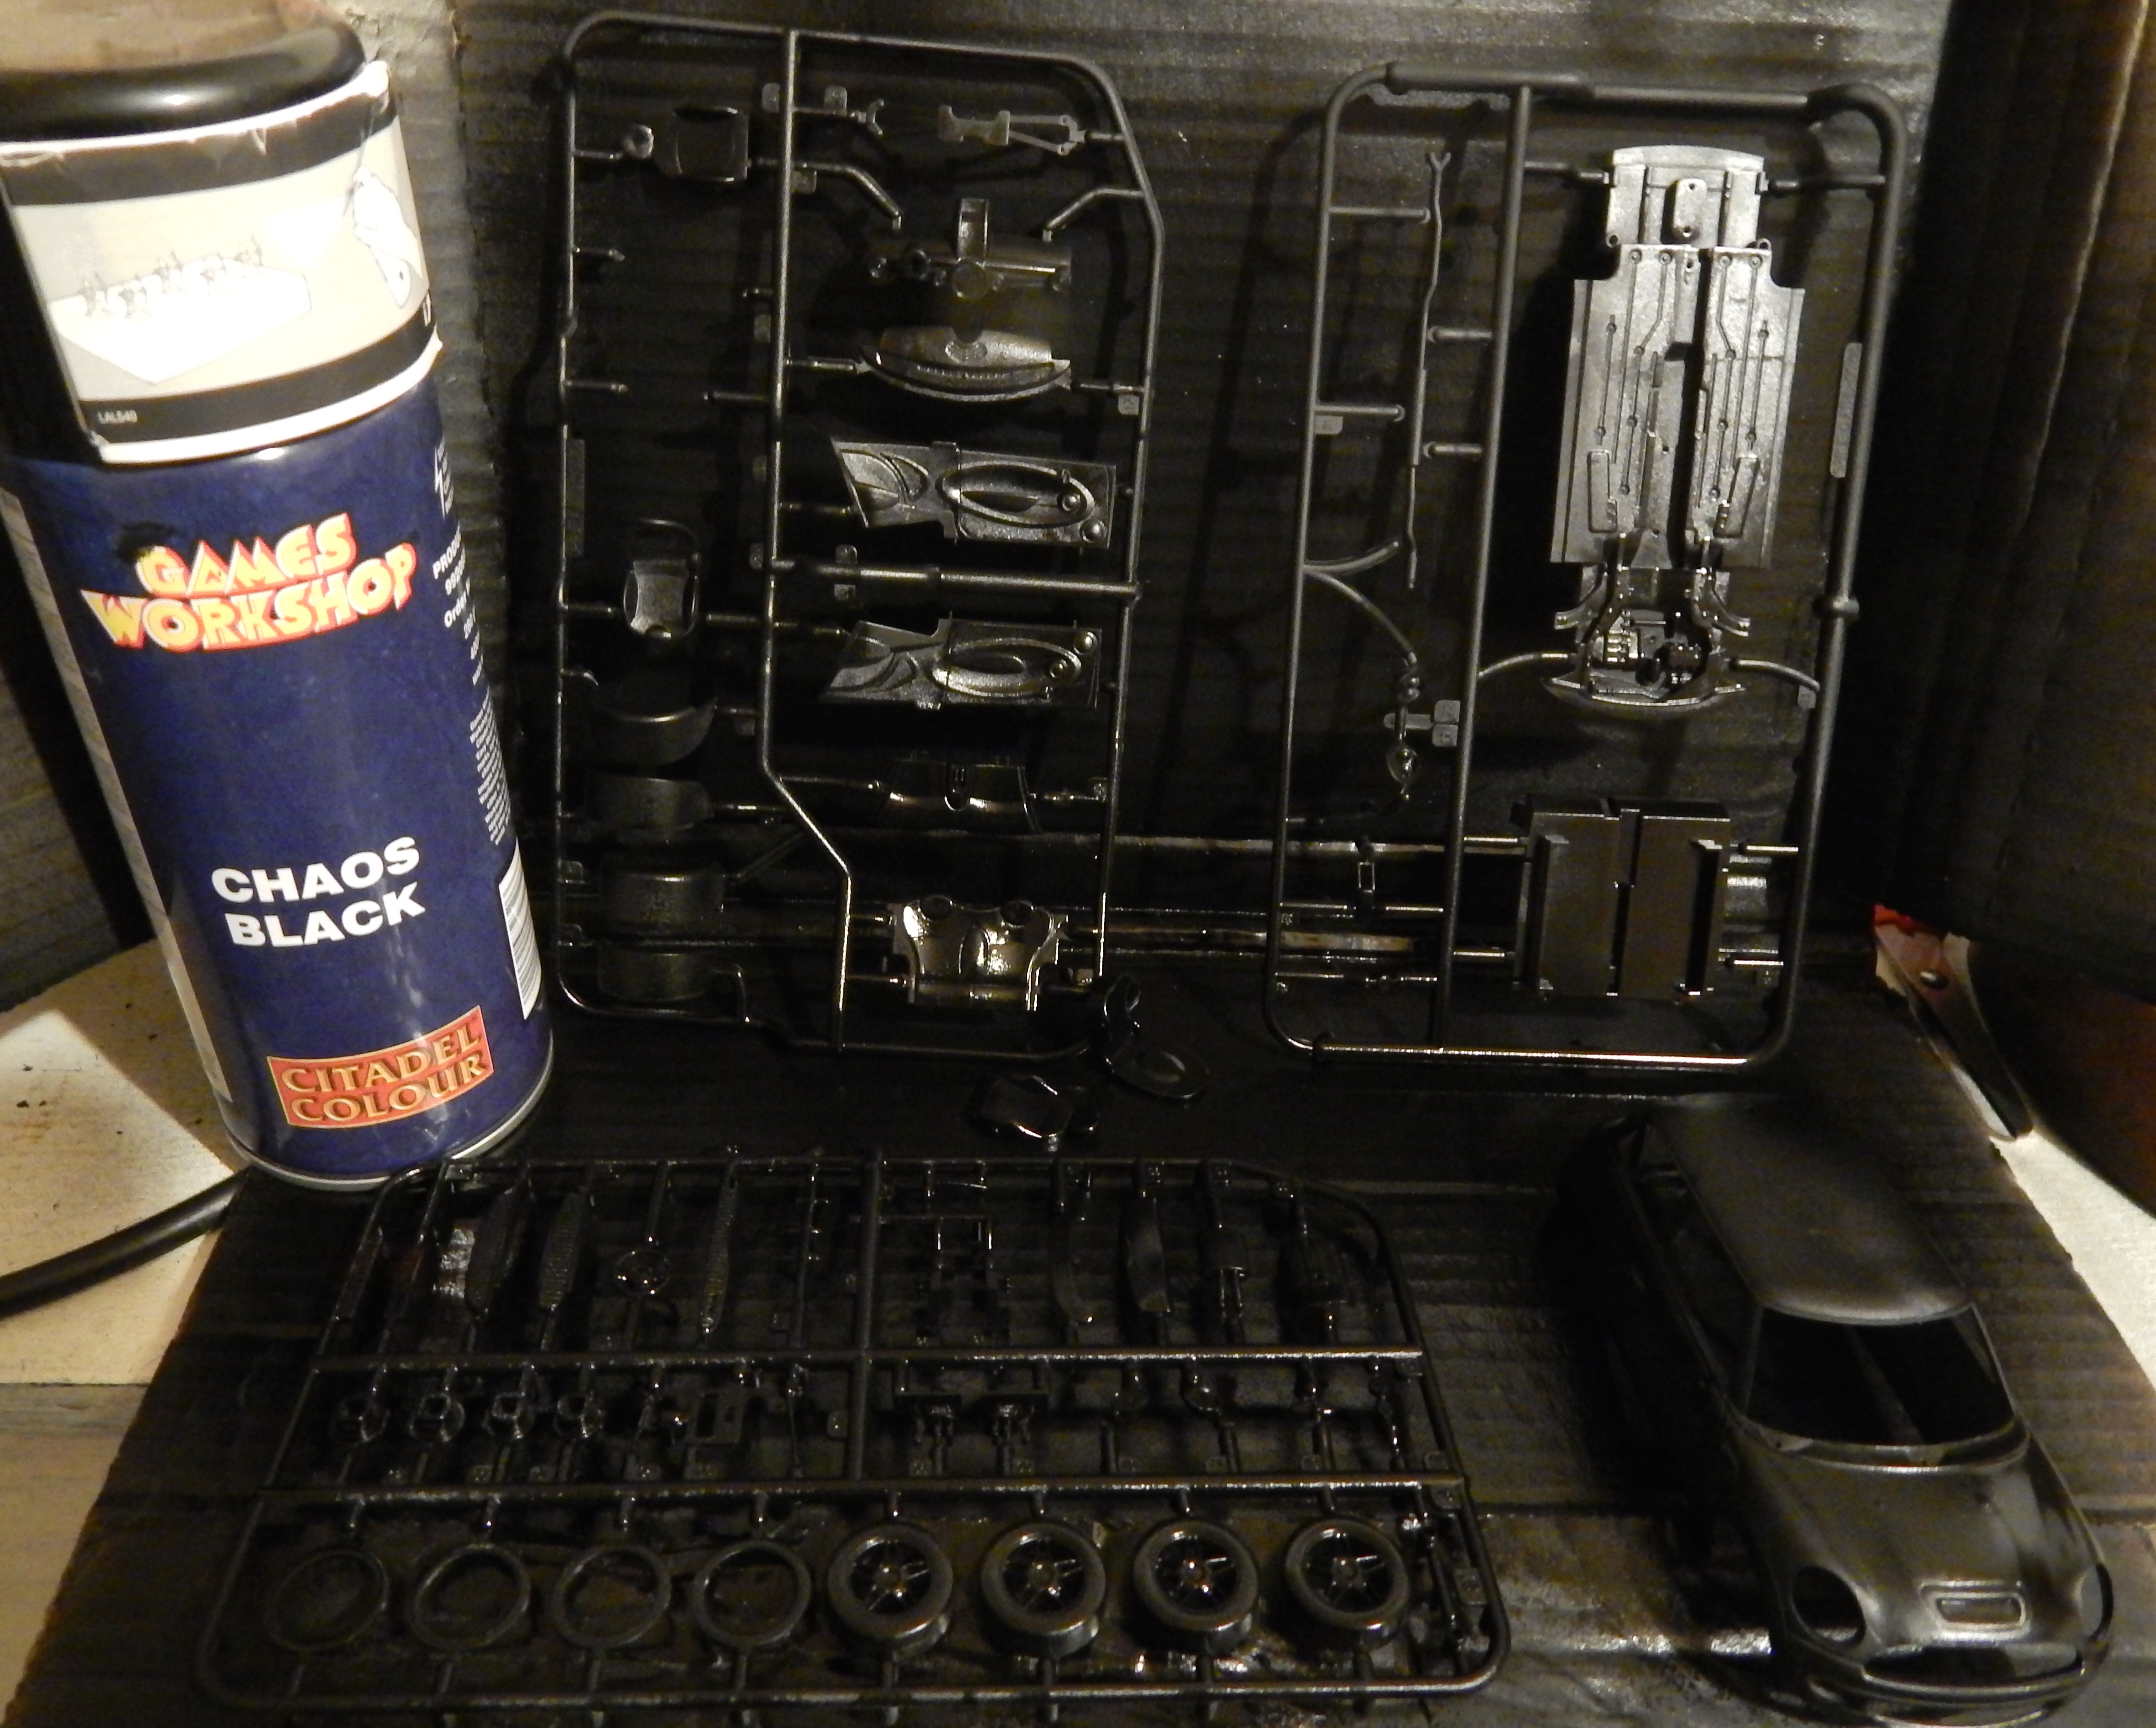
The major parts have been glued and the model given another coat of chaos black … just the glass (clear plastic), wheels and the tiny little fiddly bits like the headlamps and screen wipers left.
Next I will start picking out the chrome and alloy parts in boltgun metal and probably highlight with chainmail or mithril silver.


This is a 1/32 scale model the same as the Batmobile – I am hoping with a bit of adaptation to use the chassis with slot car mechanism – so hopefully the body will just clip onto the chassis once painted and can be easily removed and attached to slot car chassis.

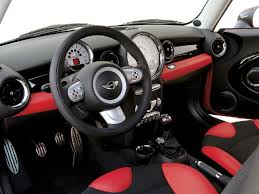
So bulk of construction is complete and I have started to paint bodywork and interior. A couple of coats of red gore for the bodywork and some boltgun metal for the wheels and chrome trim. I pulled some pictures off the internet (shown below) for the interior and will try and go with this colour scheme as it matches the exterior nicely…


Finally the bodywork gets a couple of coats blood red and the roof gets a coat of skull white (I use all the old names for citadel paints as that is what I have) and using Tamiya 6mm modellers masking tape the bonnet gets its white stripes (a great band btw) … and the chrome work gets a bit more attention with chainmail silver

Having painted the bonnet stripes I have just realised that in fact there are decals provided …doh! However, the painted stripes look pretty good. I may just overlay the decals onto the painted stripes.
Before attaching the glass I give everything a spray with Purity Seal Satin Varnish – this gives a nice shine to the paintwork and blends some of my brushstrokes a little.
Not much left to do now, the clear plastic is in place (windscreens and lamps). Just the decals, wiper blades and aerial and a bit of tidying up to go. I have placed the Batman in the driving seat for the time being while the Batmobile is in the BatCave getting a service!

Top Tips: The wiper blades are incredibly fragile so be extra vigilant when detaching from the sprues. The rear lamps and fog lamps are absolutely tiny so be careful you don’t lose them – keep on the sprues till the last minute. I used just the smallest amount of glue to affix the ‘glass’ into place as its easy to ruin the whole thing with glue frosted glass.

So here is the final model (click on the picture to take you to my flickr album and more pictures.) Fairly happy with the results. The rear brake lights where a real pain to fit. The chrome trim is pretty poorly painted in places. The wipers are incredibly fragile and the tip of one broke off as did the very tip of the aerial. The decals were also very tricky to get in place as they are so small and my eyes are not as good as they used to be. I need to trim back the bonnet stripes as they overlap onto the radiator grill and I could probably have done another coat of red over the bodywork too. Not too bad for my first project in about 40 years though. The next step will be to place it into a diorama and perhaps do a bit of weathering – but that’s another project.
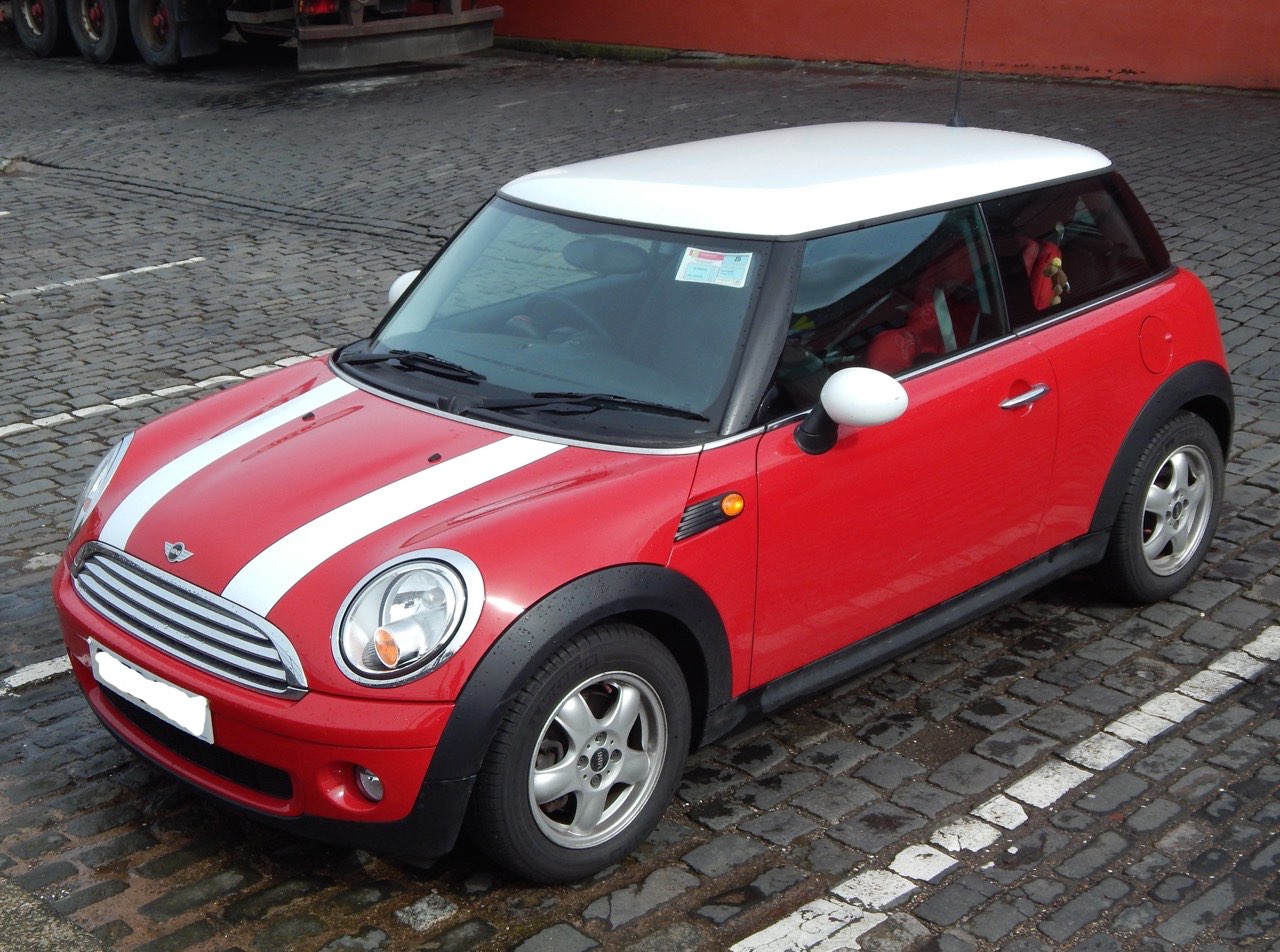
And here is the real thing captured outside the Old Newhaven Fish Market in Edinburgh (although this is not the S version)…