
Bought this Kit along with a Porsche from Lidl for a great price.
Parts were given a prime with Chaos Black (for the black sprues) and Halfords Plastic Primer (for the red sprues). The parts were laid out and partially assembled to familiarise with construction.
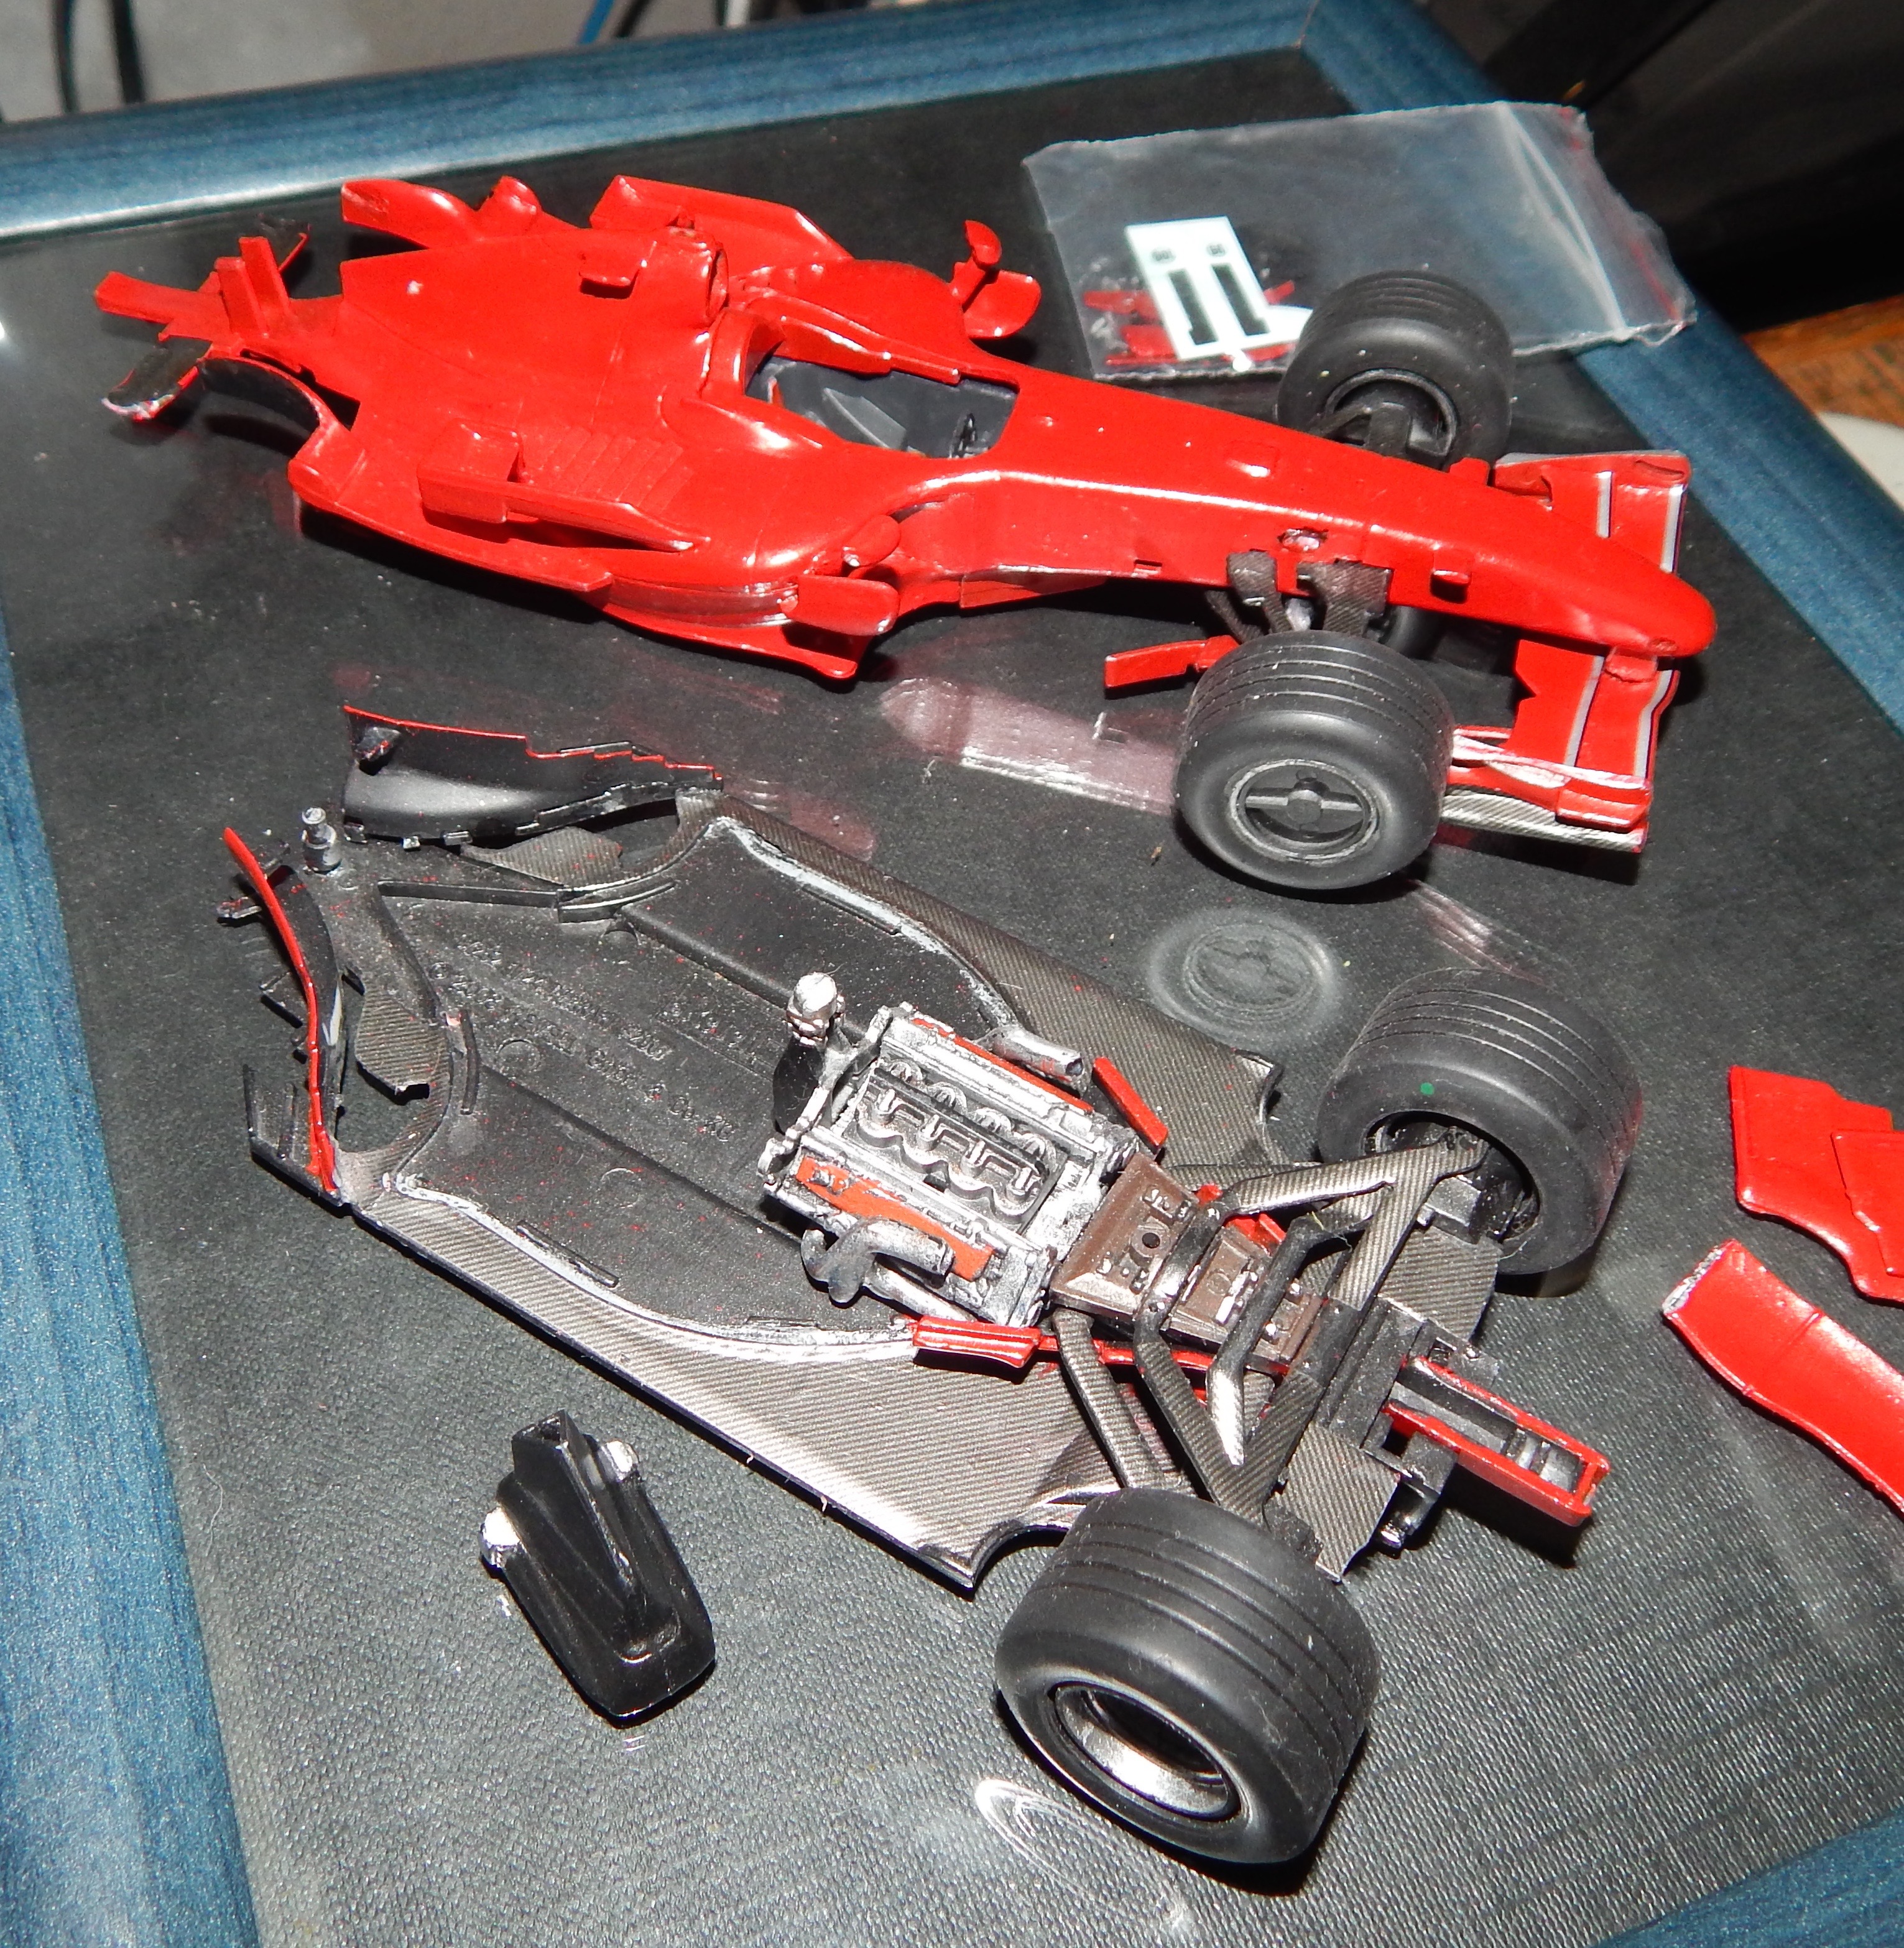
The parts that have carbon fibre decals where first painted with a mix of 90% black and 10% aluminium and once dry the decals applied. The parts identified as needing silver or aluminium where given a coat of boltgun metal followed by mithril silver – mostly this was the engine, which is hidden once model is completed. I am considering if it is going to be practical to cut away some of the body shell in order to keep this exposed.
The parts to be painted red are given another coat of grey primer once assembled.
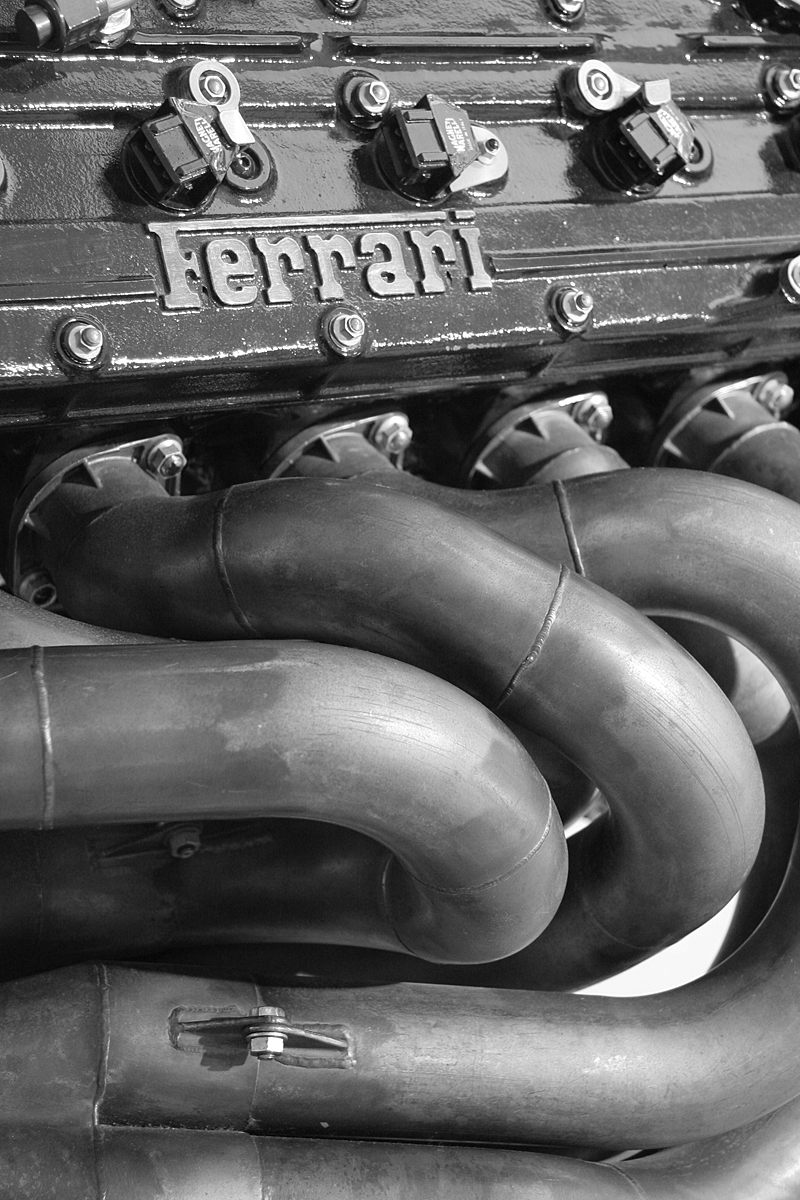
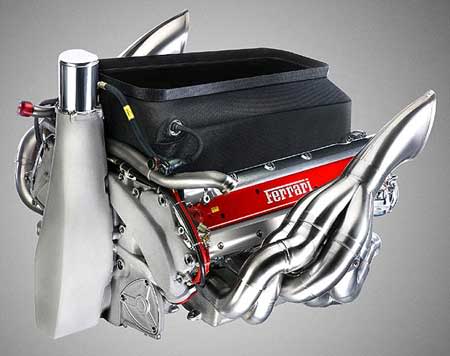

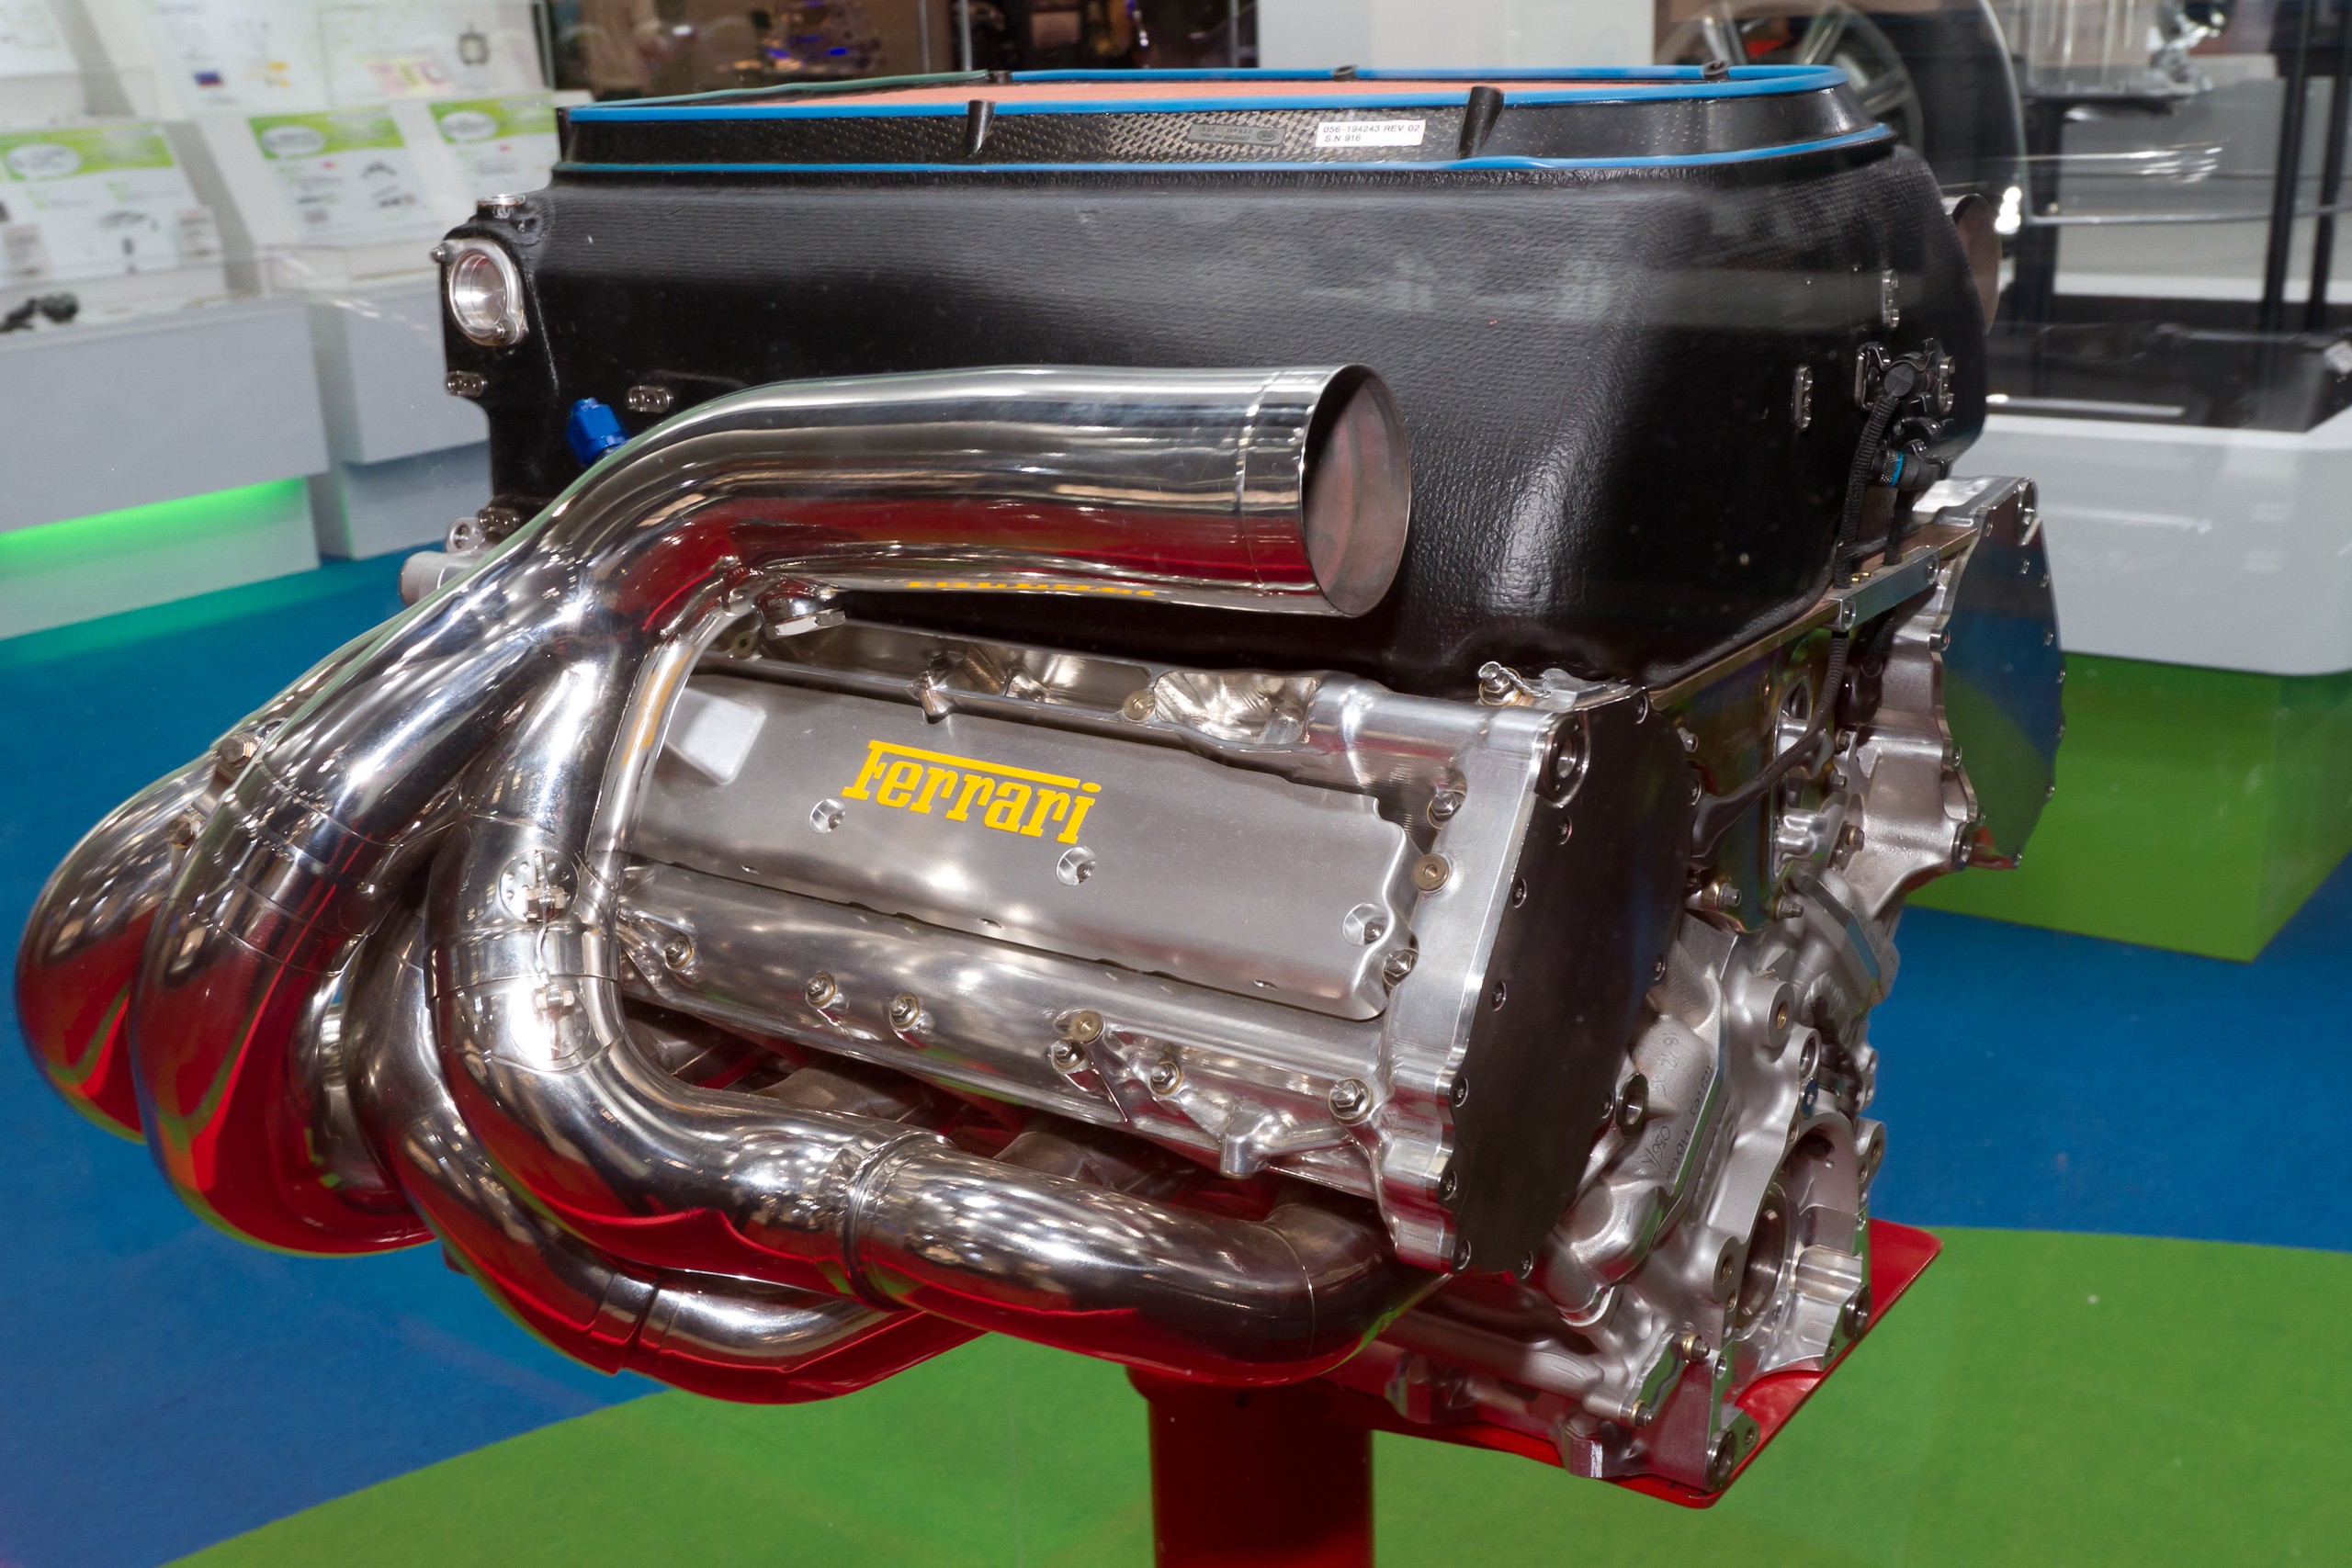
Above are a few reference pictures grabbed off the internet
Here is the model just about ready for painting the red parts.

The Engine has had some dry brushing…

Since starting this build I have purchased a cheap airbrush and compressor. I have given the ferrari shell a coat with 90% Ferrari Red and 10% Gold over my initial brushed coating. Fairly pleased with results as I am a complete beginner at airbrushing. I also drilled out the air intake above the drivers seat as other people seem to have done.

I made the turntable from an old electric mixer stand I had.

This kit is a bit more tricky than it first appears and I have had to reassemble and assemble several times… especially as I wish for it to be quite accurate to the real thing. Also there are loads of decals and I have had to concentrate on trying to get these right to. I have given the body shell another coat of paint and a coat of pledge (yes pledge floor wax) to give it a real shine. There is still quite a lot to do. Loads more intricate decals. Some fiddly painting to do especially the drivers cockpit and steering wheel. I will need to work on the wheels to and do some repairs where the plastic hasn’t been able to deal with my heavy handed repairs. I intend to display the two halves but hope that they can easily be slotted together without to much fuss.

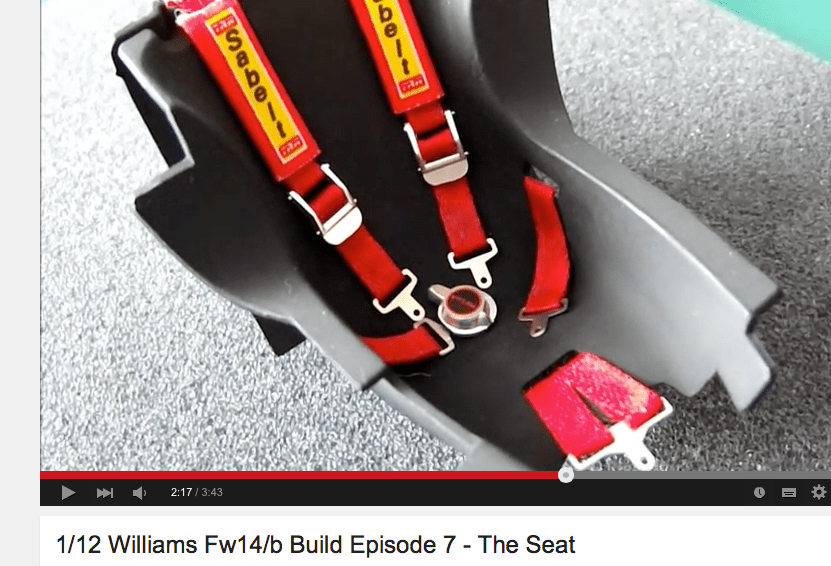
Did some more painting and decal work. Also found a really nice frame that will make and excellent display base for the finished model. Managed some detail to the steering wheel and am happy with seat belt progress too. The dashboard needs some work and there are stacks of tiny decals to add in the cockpit.
.


treated myself to the tamiya mechanics set and finally got round to priming one sprue


some more work on the mechanics

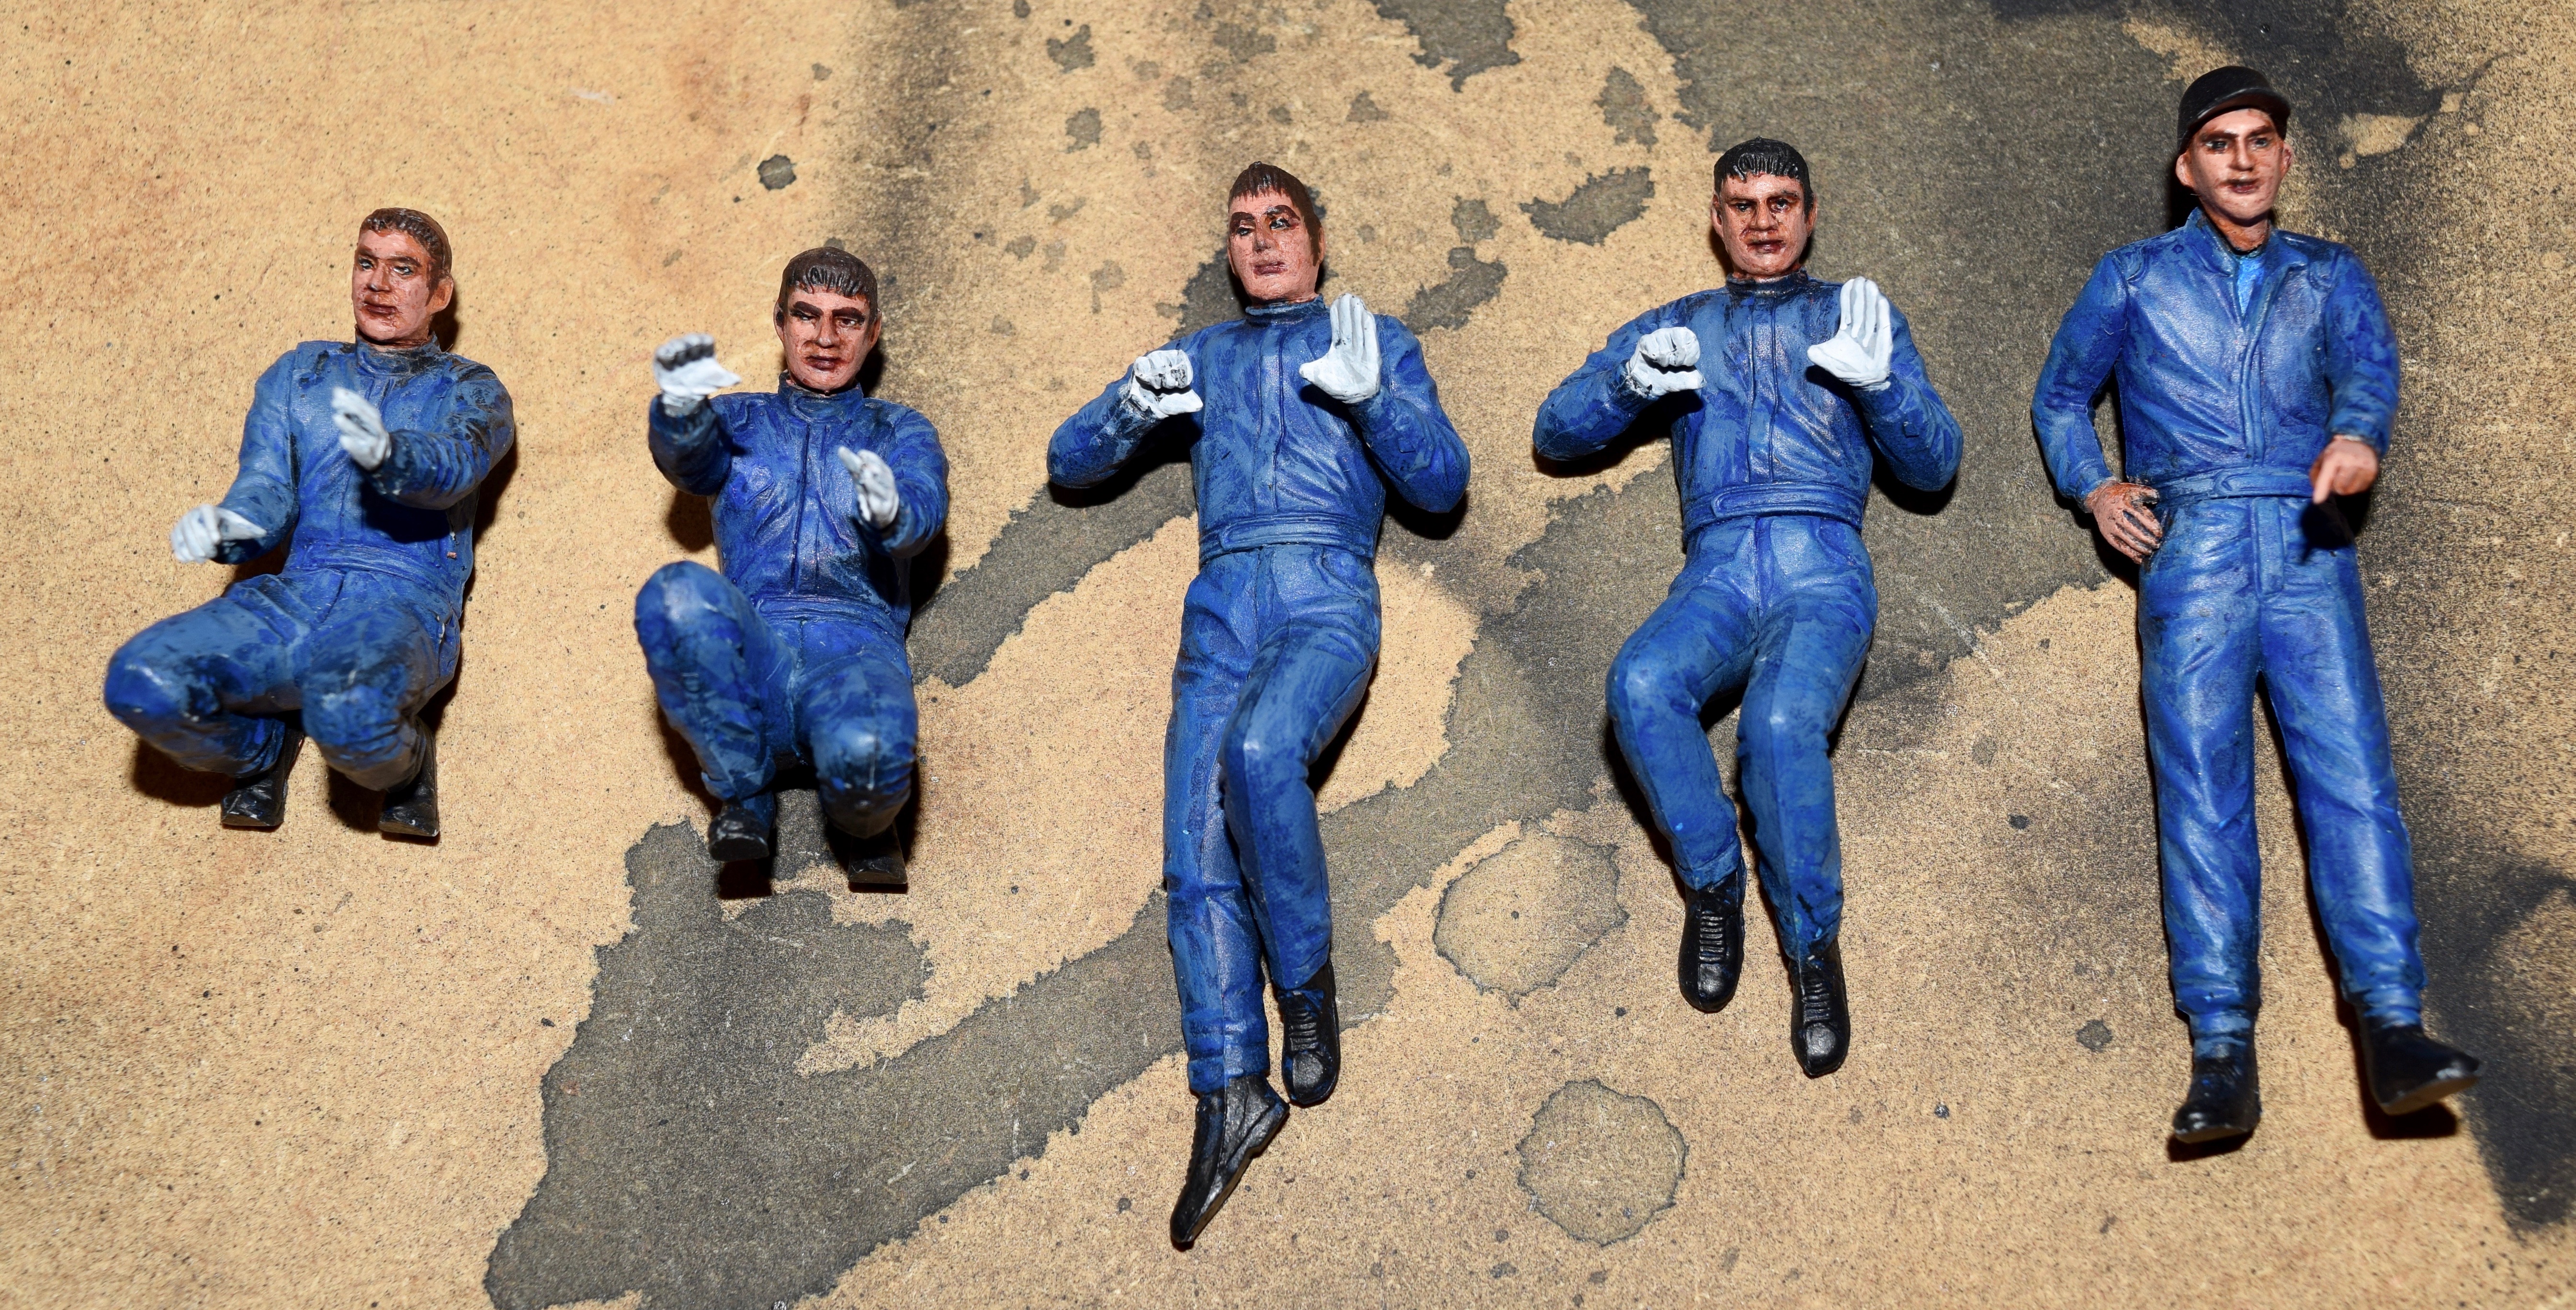

I’m not sure yet if I will use these. I might just display the car without driver and pit crew.
Started to Add decals.. I’ve chosen the decals for #6 Kimi Raikkonen World Champion – British Grand Prix

